Affinity Designer 2 Shape Builder Tool

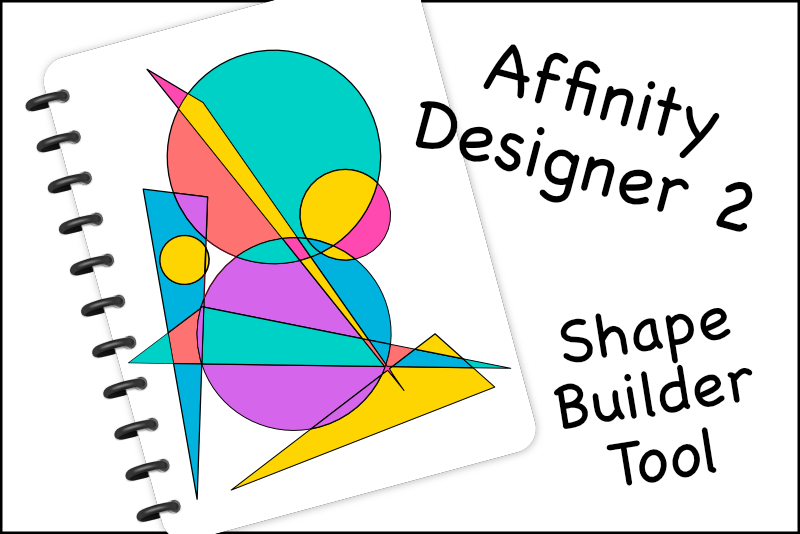
Recently, Affinity Designer had an upgrade and one of the new tools is the Shape Builder tool. Are you looking for a way to easily create individual shapes from a group of overlapping lines and color each shape individually. Now you can do this in Affinity Designer with the Shape Builder tool.
First we need to draw the overlapping shapes that we will use to create those empty areas. Then we will scan the sketch into Designer. Using the scan as a blueprint, we will draw the shapes again in Designer, using just a stroke and no fill. Then we will use the Shape Builder tool to create individual shapes from the empty areas between the lines. Finally, we can color each individual shape.
First we need to draw the overlapping shapes that we will use to create those empty areas. Then we will scan the sketch into Designer. Using the scan as a blueprint, we will draw the shapes again in Designer, using just a stroke and no fill. Then we will use the Shape Builder tool to create individual shapes from the empty areas between the lines. Finally, we can color each individual shape.
- Start with a sketch of overlapping shapes or lines. Scan the sketch (see screenshot).
- Open the sketch into a new Affinity Designer document.
- Using a red stroke and no fill, draw each shape on the canvas, using the sketch as a guide. We are using a red stroke color in order to see which parts of the scan that we have drawn. We can change the stroke color later (see screenshot).
- When you have all the shapes drawn, group all the shape layers together (see screenshot).
- Select the Shape Builder tool and the group layer.
- From the Context Toolbar, set the Shape Builder tool to Create a New Shape From Selected Areas.
- Click each empty area that you wish to fill with color. You will get a new layer containing a shape created from the empty area (see screenshot).
- Select the larger shape layers and drag them to the bottom of the Layers panel.
- Draw a rectangle over the canvas and drag the layer to the bottom of the layers panel. Set the fill color to your choice.
- Set the Shape Builder to Delete Selected Area from Objects (minus button). Click each area that is beyond the canvas (see screenshot).
- Select one of the new shape layers and set the Fill color to your choice and the Stroke to your choice of size and color.
- When you are finished, group all the colored shape layers together (see screenshot).
Tip: To easily draw triangles and other shapes, convert the shapes to curves so that you can control each node individually.
To prepare for coloring the shapes, we need to put the larger shapes at the bottom of the Layers panel. This will make it easy to see the smaller shapes.
Once you have all the new shapes that will make up your design, you need to remove any areas that go beyond the canvas. In order for the Shape Builder tool to know the boundaries of the canvas, we need to add a background layer that is the size of the canvas. Then we can tell the Shape Builder tool to remove anything beyond the rectangle.
Now you are ready to fill the shapes with color, starting with the bottom layers.
Variations
- If you don't want the areas that you didn't fill with color to be blank, you can fill the empty areas with simple lines. Create a bottom background layer and fill it with thin lines. The lines will show anywhere there is no fill (see screenshot).
- If you think you might want to change you color palette later, set your fill colors to Global colors.

Related Articles
Editor's Picks Articles
Top Ten Articles
Previous Features
Site Map
Content copyright © 2023 by Diane Cipollo. All rights reserved.
This content was written by Diane Cipollo. If you wish to use this content in any manner, you need written permission. Contact Diane Cipollo for details.


